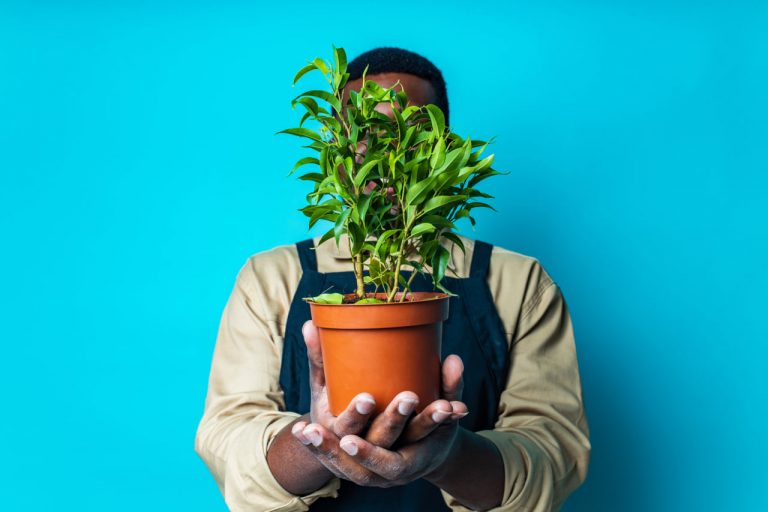
Repotting is an essential part of indoor plant care, allowing plants to grow, access fresh nutrients, and prevent root-bound conditions. Many beginners find the process intimidating, but with proper guidance, repotting can be simple and highly rewarding. This guide provides a detailed, step-by-step approach to ensure your plants thrive during and after repotting.
When to Repot
Knowing the right time to repot is crucial. Signs that a plant needs repotting include:
- Roots growing out of the drainage holes.
- Slowed growth despite proper care.
- Soil drying out too quickly after watering.
- Top-heavy or overcrowded foliage.
Most plants benefit from repotting every one to three years, depending on their growth rate and species.
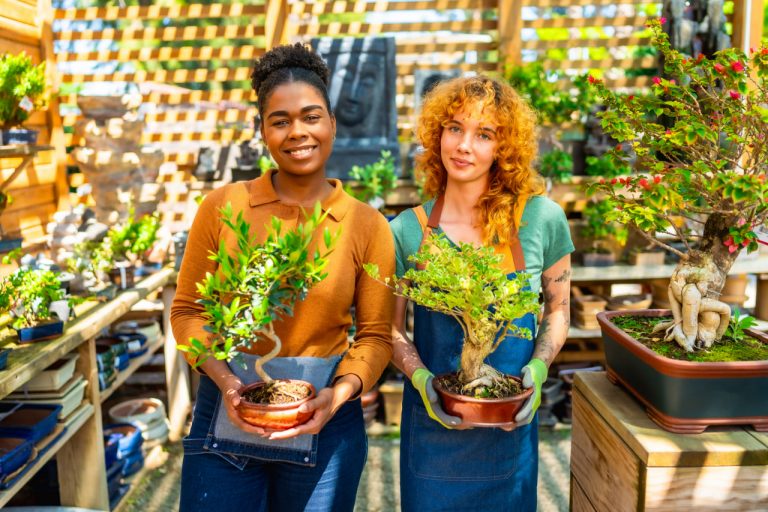
Choosing the Right Pot
Selecting the proper pot ensures healthy root growth and prevents water issues.
- Size: Choose a pot slightly larger than the current one—typically 1–2 inches wider in diameter. Avoid oversized pots, as excess soil can retain too much water.
- Material: Terracotta, ceramic, and plastic pots each have benefits; terracotta is porous and good for moisture control, while plastic retains water longer.
- Drainage: Ensure the pot has adequate drainage holes to prevent waterlogging and root rot.
Preparing Fresh Soil
Fresh, nutrient-rich soil provides the plant with essential elements for growth.
- Use a soil mix appropriate for your plant species; for example, succulents require well-draining soil, while tropical plants prefer moisture-retentive soil.
- Pre-moisten the soil slightly for easier handling and better root contact.
- Optionally, add perlite or sand to improve drainage for certain plants.
Removing the Plant
Gently remove the plant from its current container:
- Lightly squeeze the pot’s sides if it’s flexible to loosen soil.
- Tap the bottom of the pot to release roots.
- Carefully tease roots apart if they are densely packed or circling the root ball.
- Inspect roots for signs of disease or rot and trim any damaged sections with sterilized scissors.
Placing in the New Pot
Position the plant in the new container carefully:
- Add a layer of fresh soil at the bottom of the pot.
- Center the plant, ensuring it sits at the same soil depth as before.
- Fill in around the roots with additional soil, gently pressing down to eliminate air pockets without compacting excessively.
Watering After Repotting
After repotting, water the plant thoroughly to settle the soil and hydrate the roots.
- Ensure water drains freely through the bottom.
- Avoid overwatering in the first few weeks while the plant adjusts to the new environment.
- Monitor the plant closely for stress signs, such as drooping or leaf yellowing.
Adjusting Placement
Repotted plants may be more sensitive to light and temperature initially.
- Gradually acclimate the plant to its usual light conditions.
- Avoid direct harsh sunlight for a few days if the plant appears stressed.
- Maintain stable temperature and humidity to support recovery.
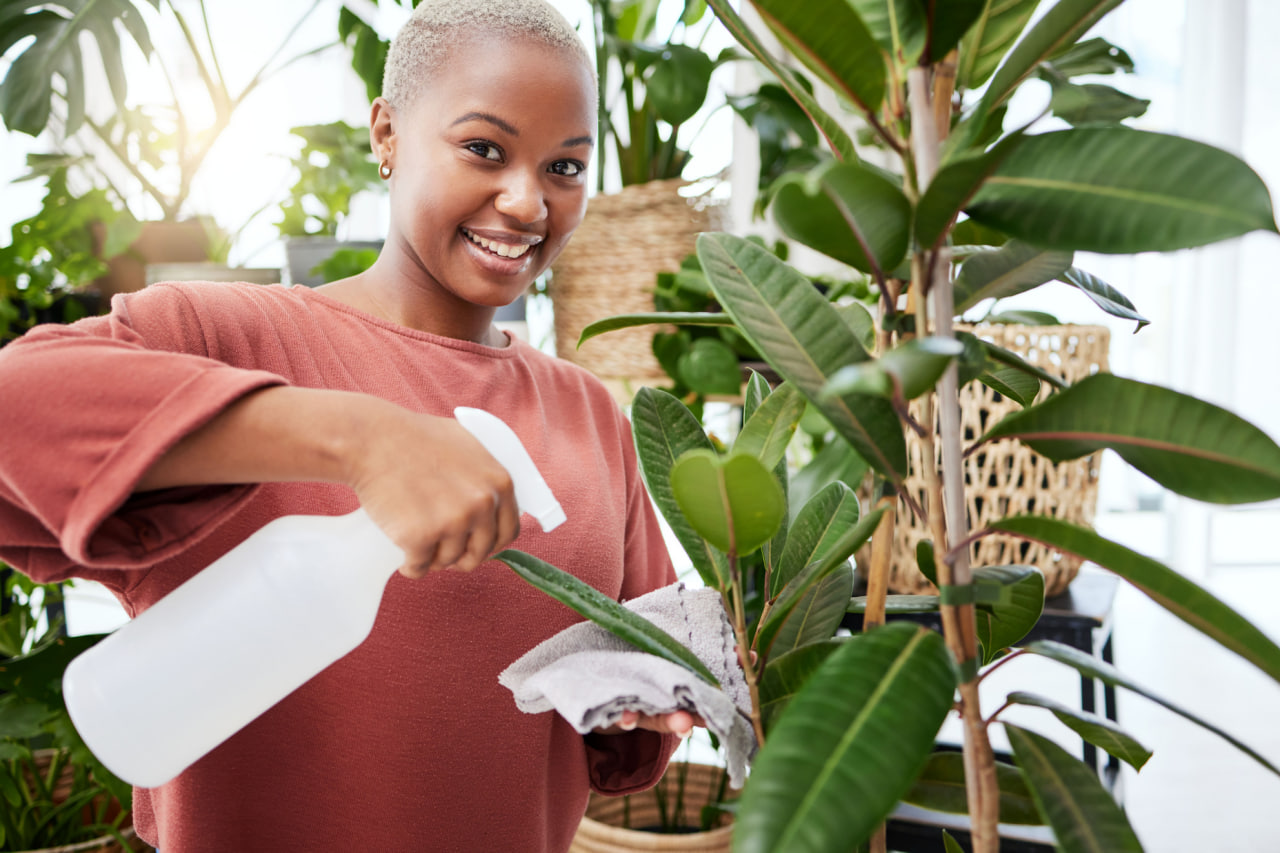
Ongoing Care
After repotting, provide consistent care to help your plant establish:
- Resume regular watering and fertilizing schedules appropriate for the species.
- Keep an eye on new growth as a sign of successful repotting.
- Regularly check for pests or signs of stress during the adjustment period.